Option 1: Using Toe Pad Bases without a Leveling Kit Option 2: Adding Toe Pad Bases to a Previously Installed Leveling Kit (velcro without holes) Option 3: Installing Toe Pad Bases Purchased Together with the Leveling Kit
2. Adding Toe Pad Bases to a Previously Installed Leveling Kit
(velcro without holes)
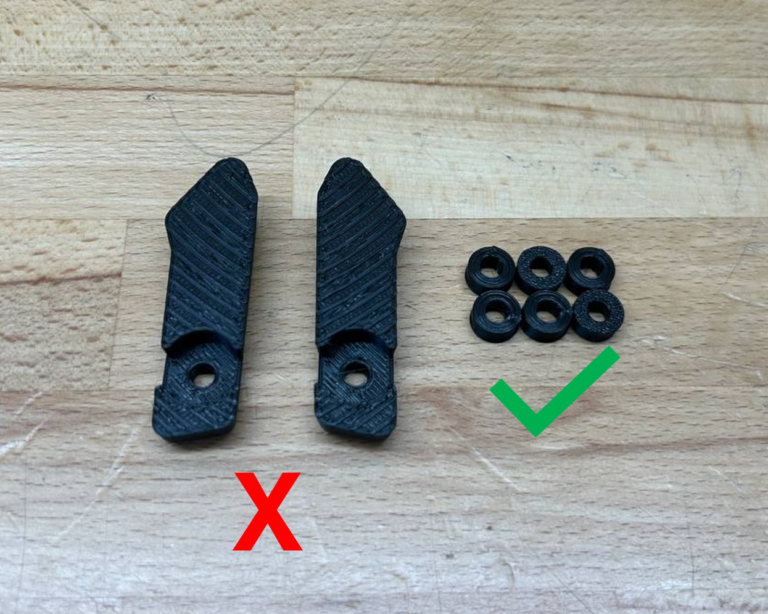
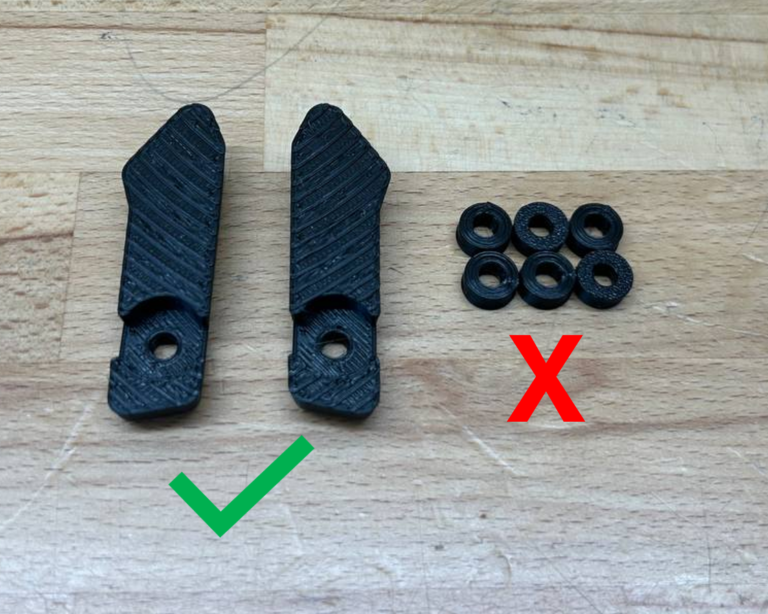
Step 1: For this setup you need to use the additional inserts included with the set. Don't use the washers from the installation pack.
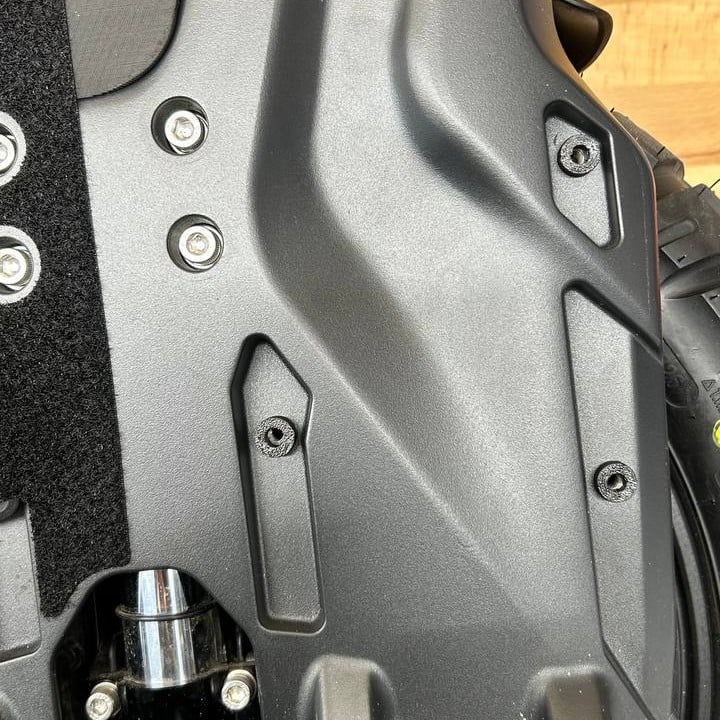
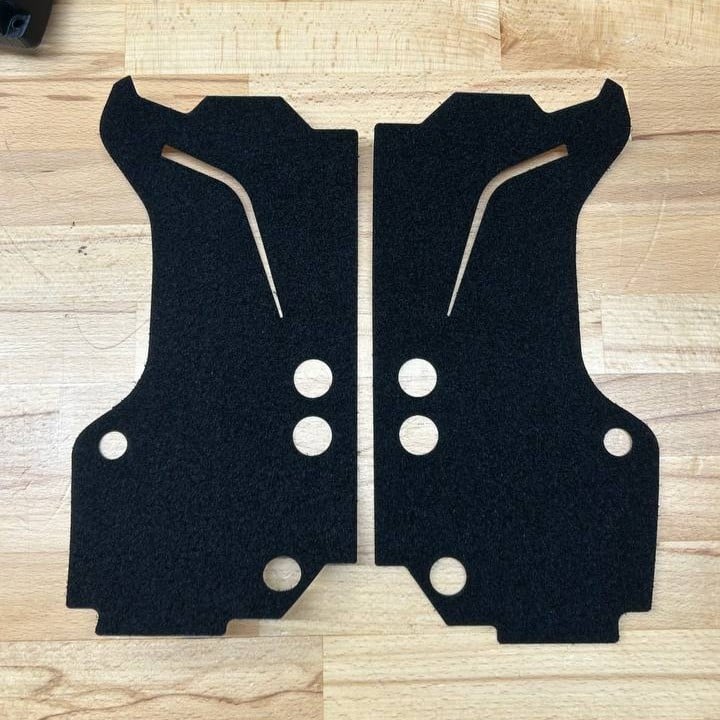
Step 2: Peel off the front part of the velcro from your EUC. Be careful not to damage the inserts underneath. Put the insert in place and apply the replacement velcro with holes.
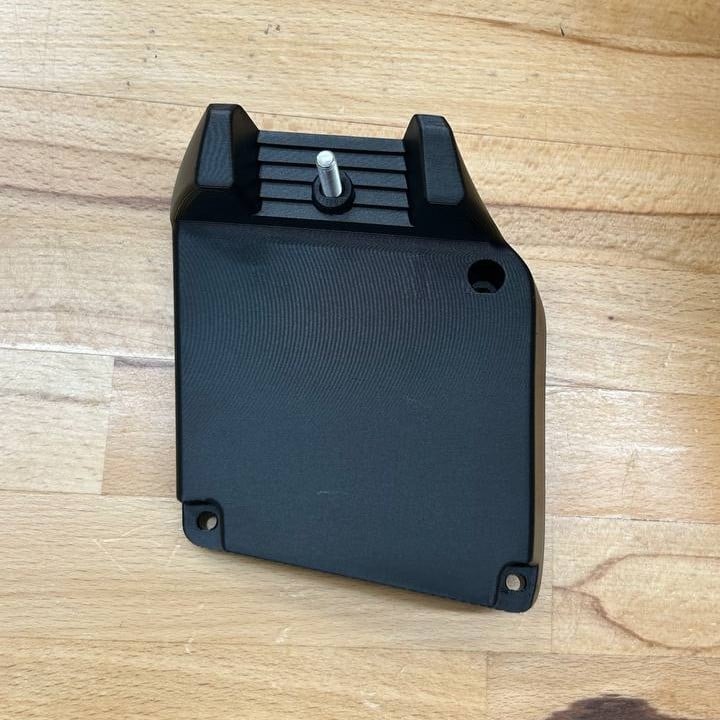
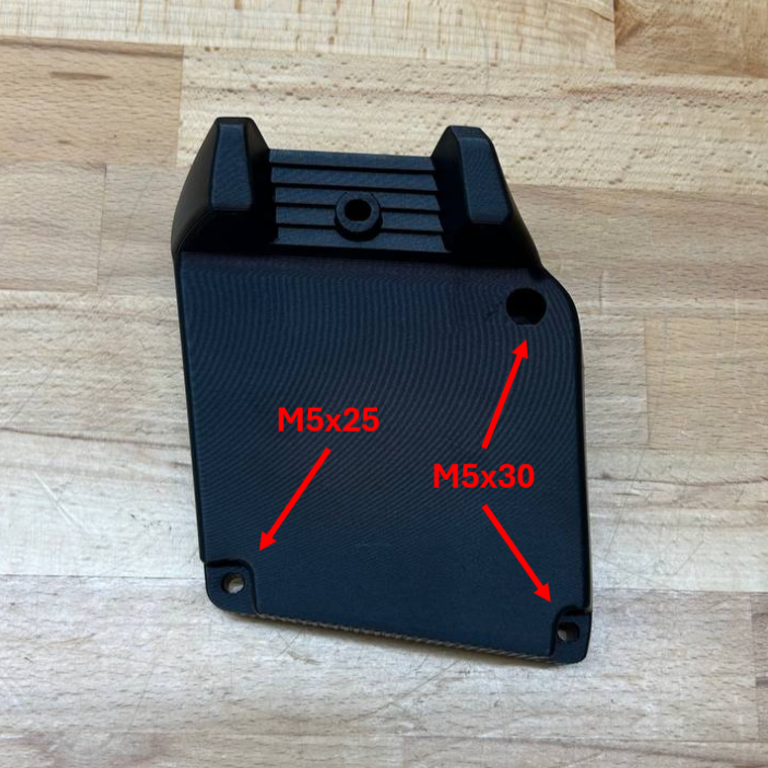
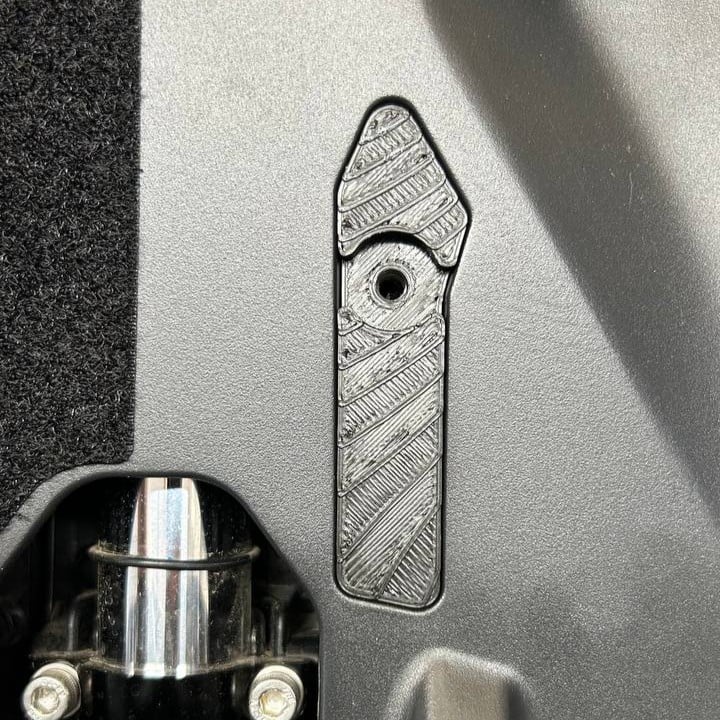
Step 3: Insert the M6x40 screw into the base. Remove the screws holding the inserts and put the base in place. Secure the base using screws and washers from the installation pack. Make sure that you use the right size of the screw in each hole.
Step 2: Insert the M6x40 screw into the base. Remove the screws holding the inserts and put the base in place. Secure the base using screws and washers from the installation pack. Make sure that you use the right size of the screw in each hole.