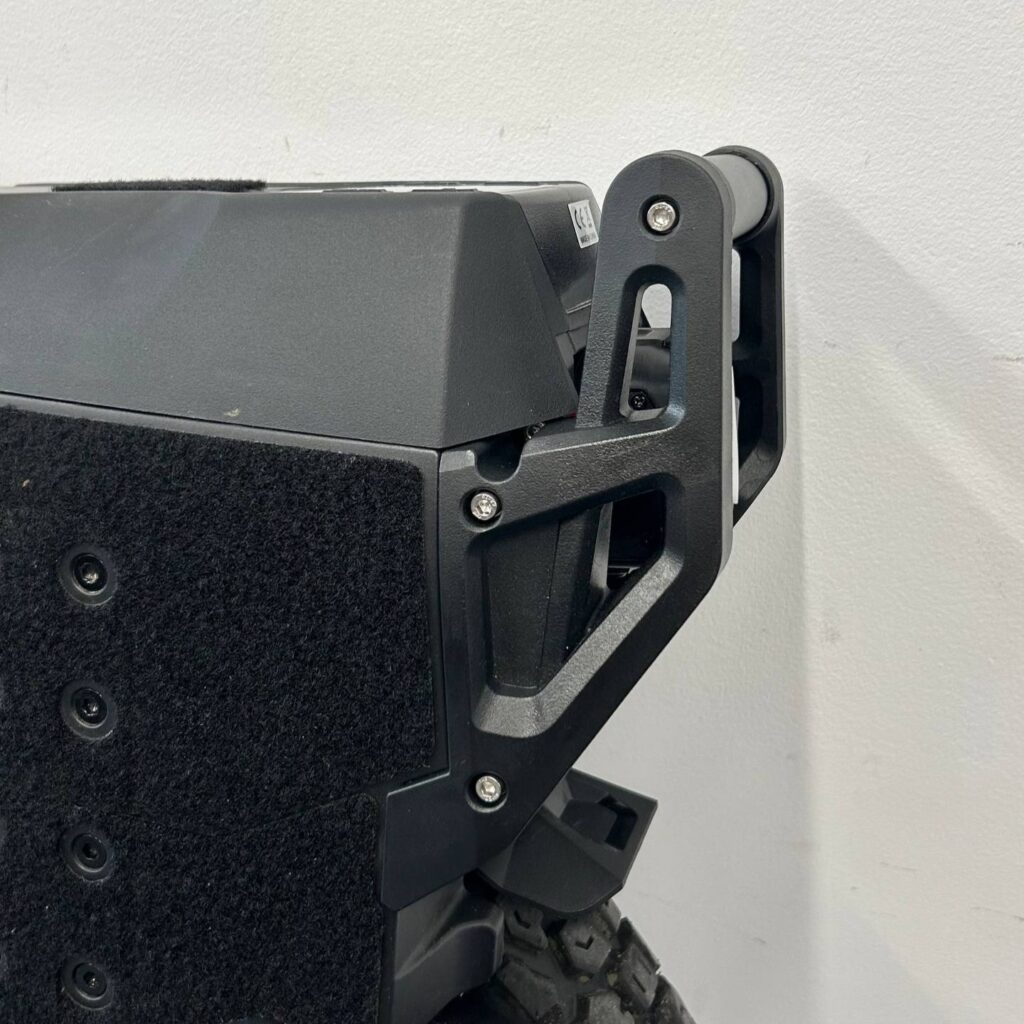
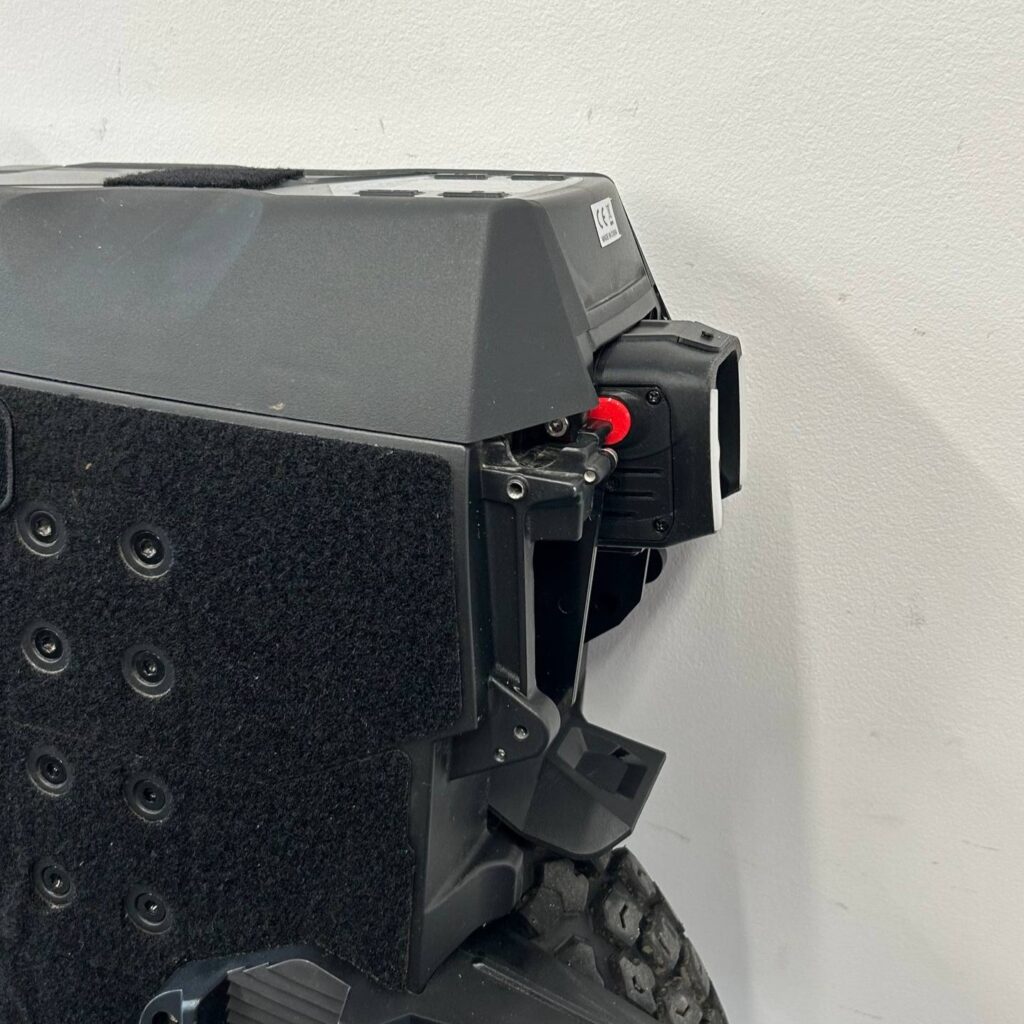
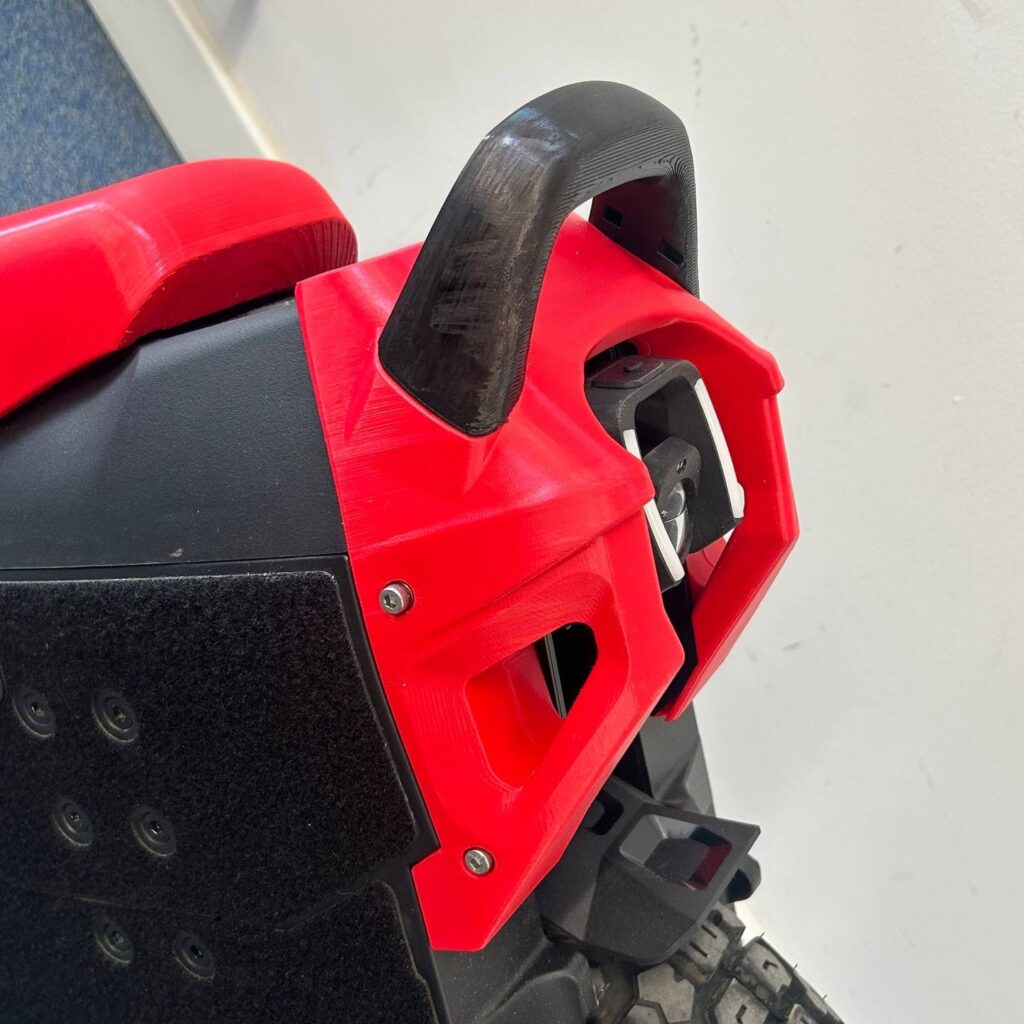
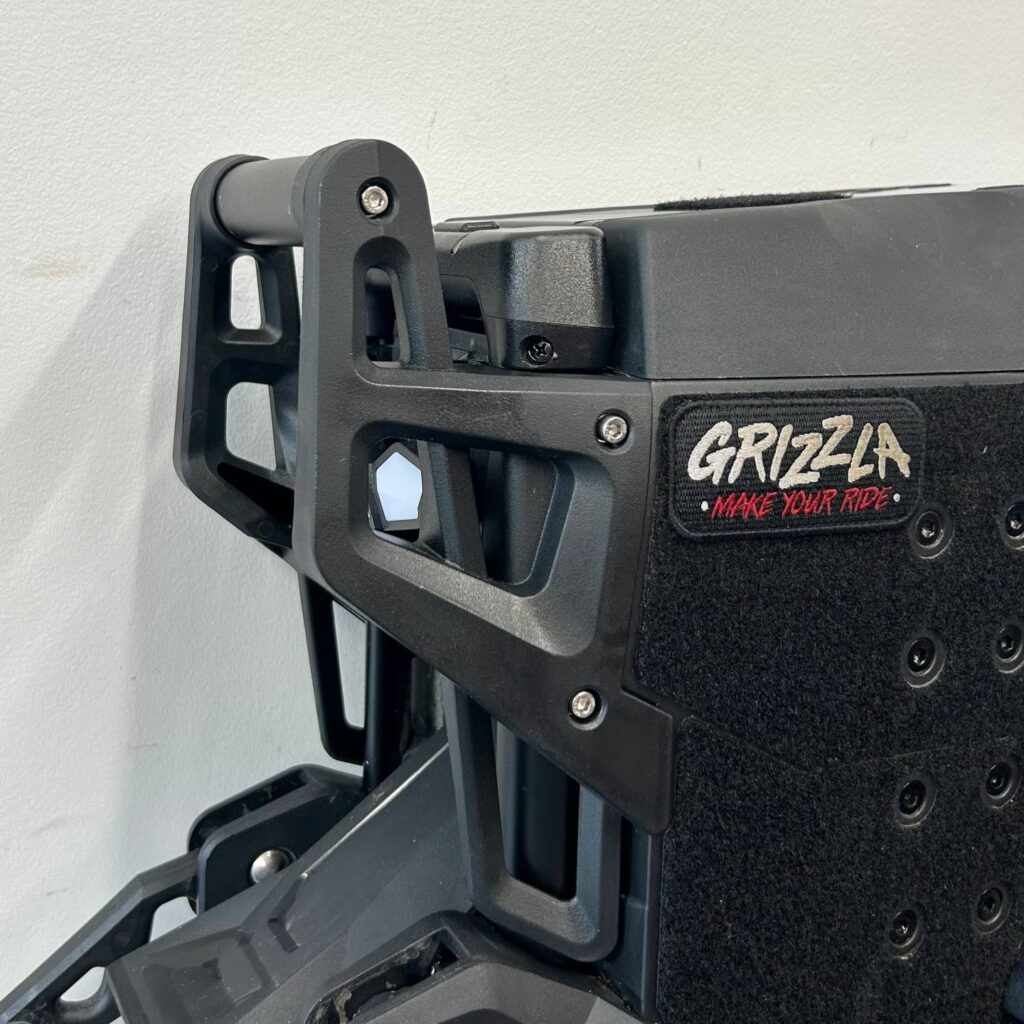
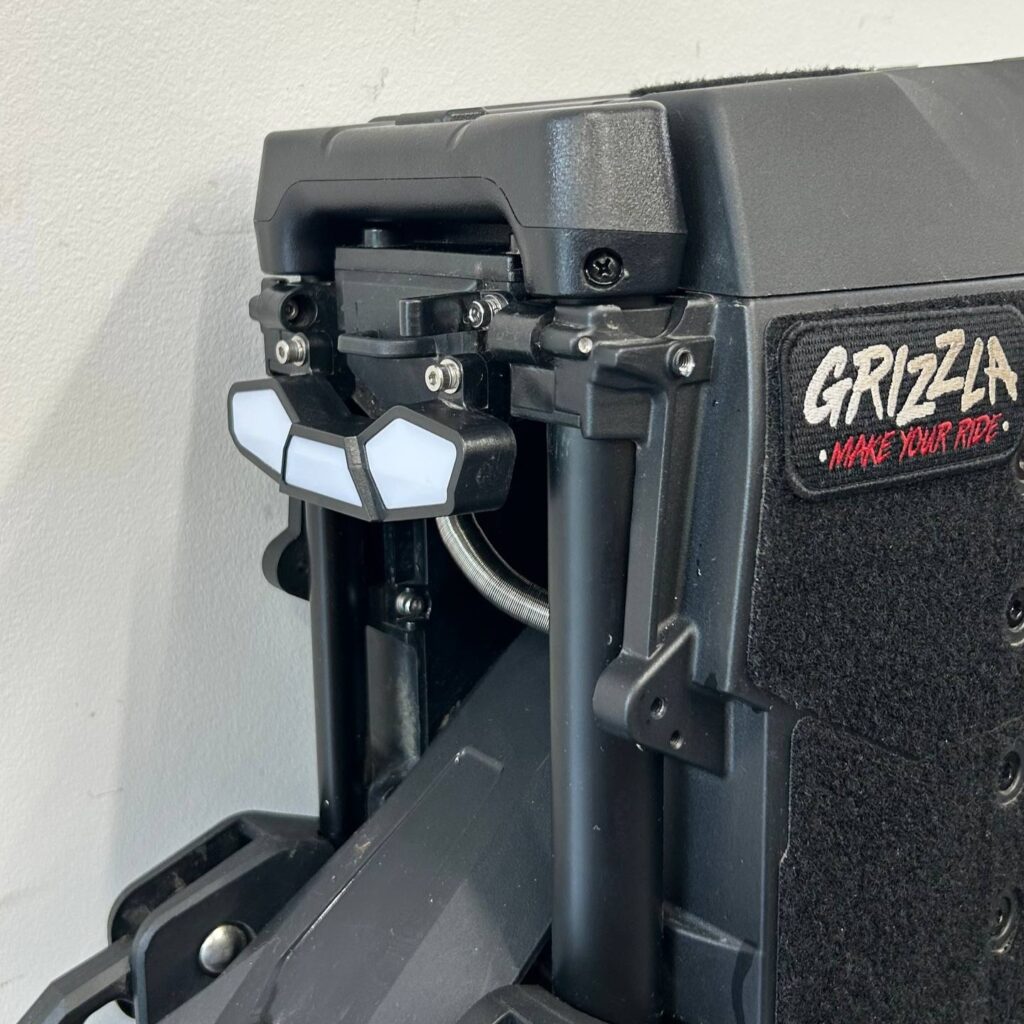
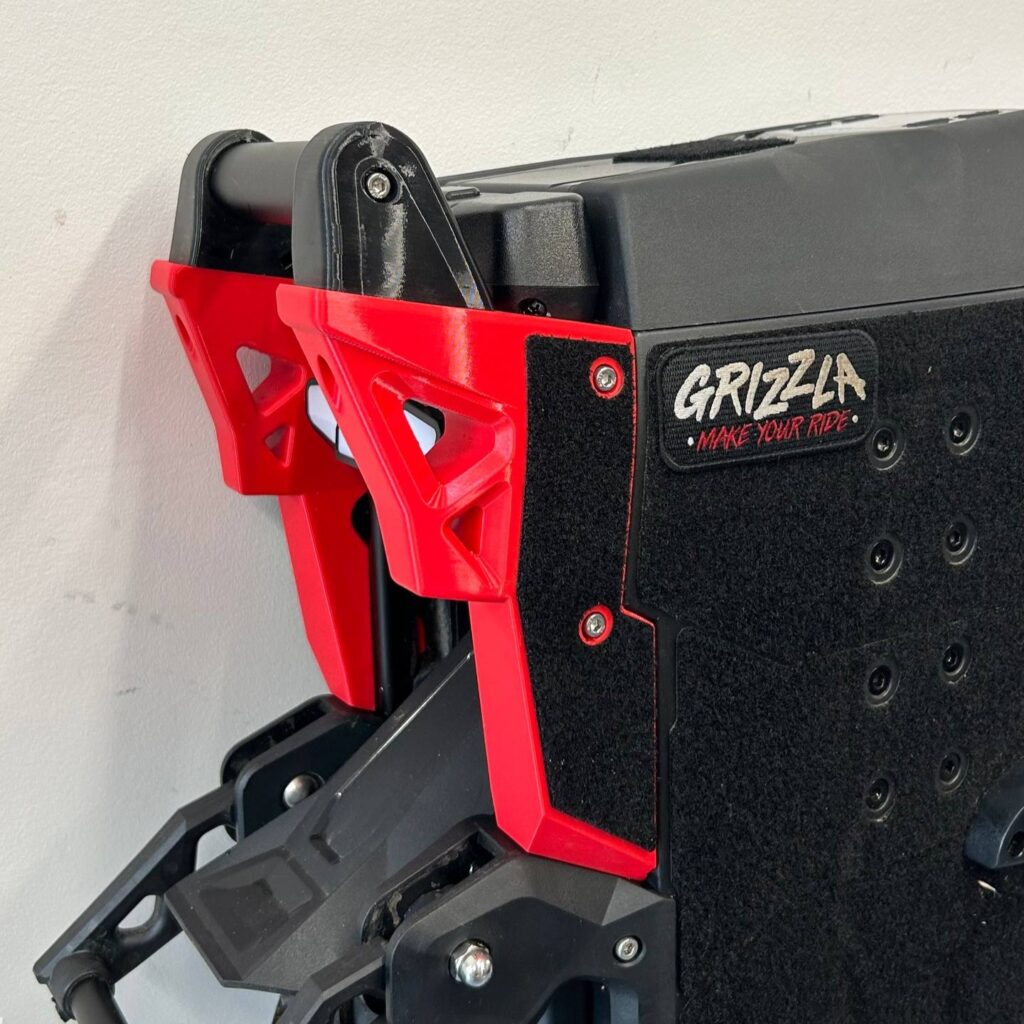
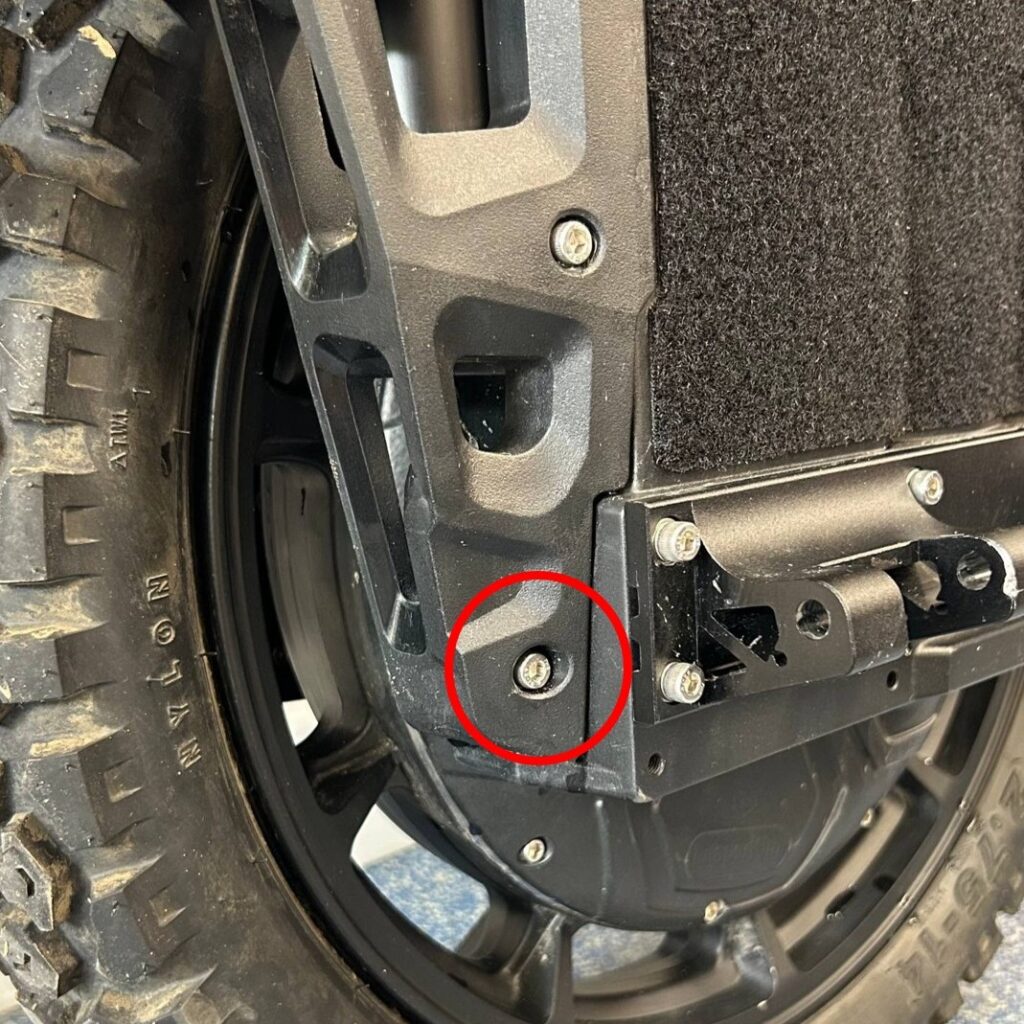
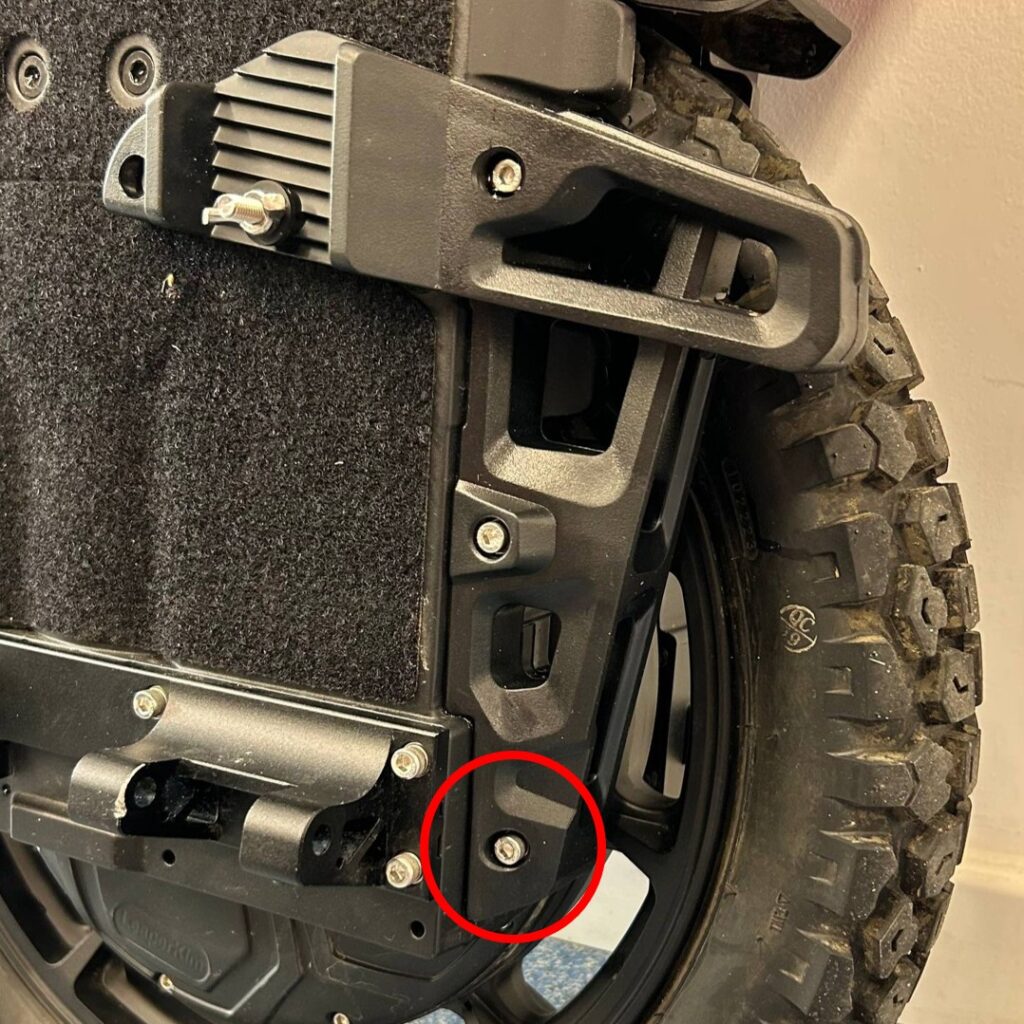
Step 1 - Remove the rear bottom and front bottoms screws. If you chose the version of bumper without Jump Pads, remove the whole front bottom bumper.
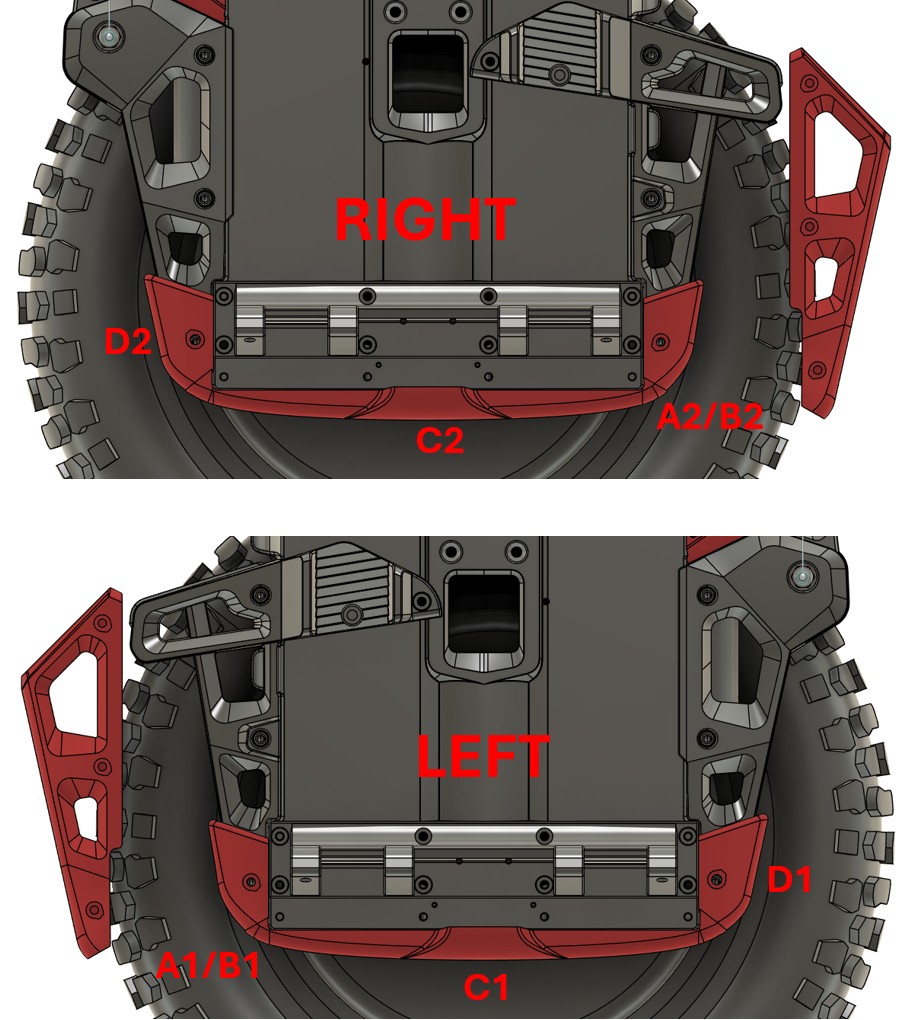
Step 2 - Before the installation please see the picture below and make sure that you put the parts in the right place. Parts B and D look similar, but they are not interchangeable.
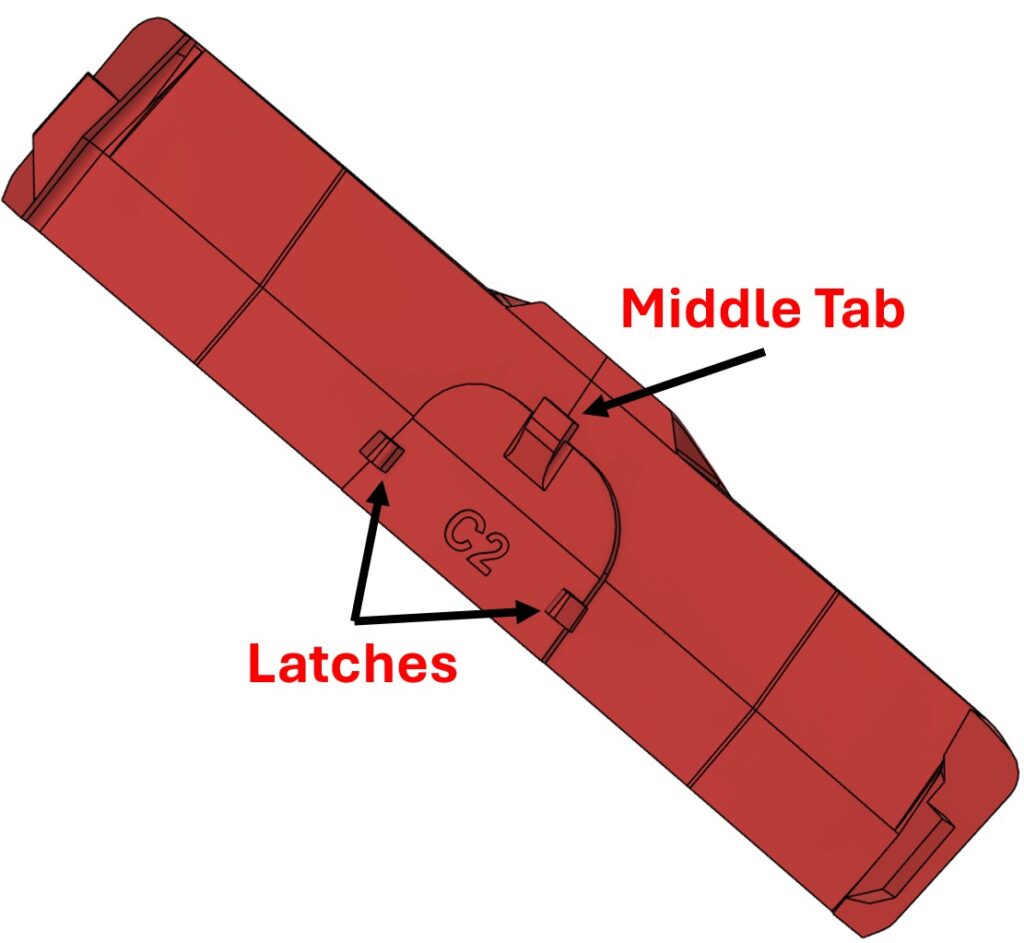
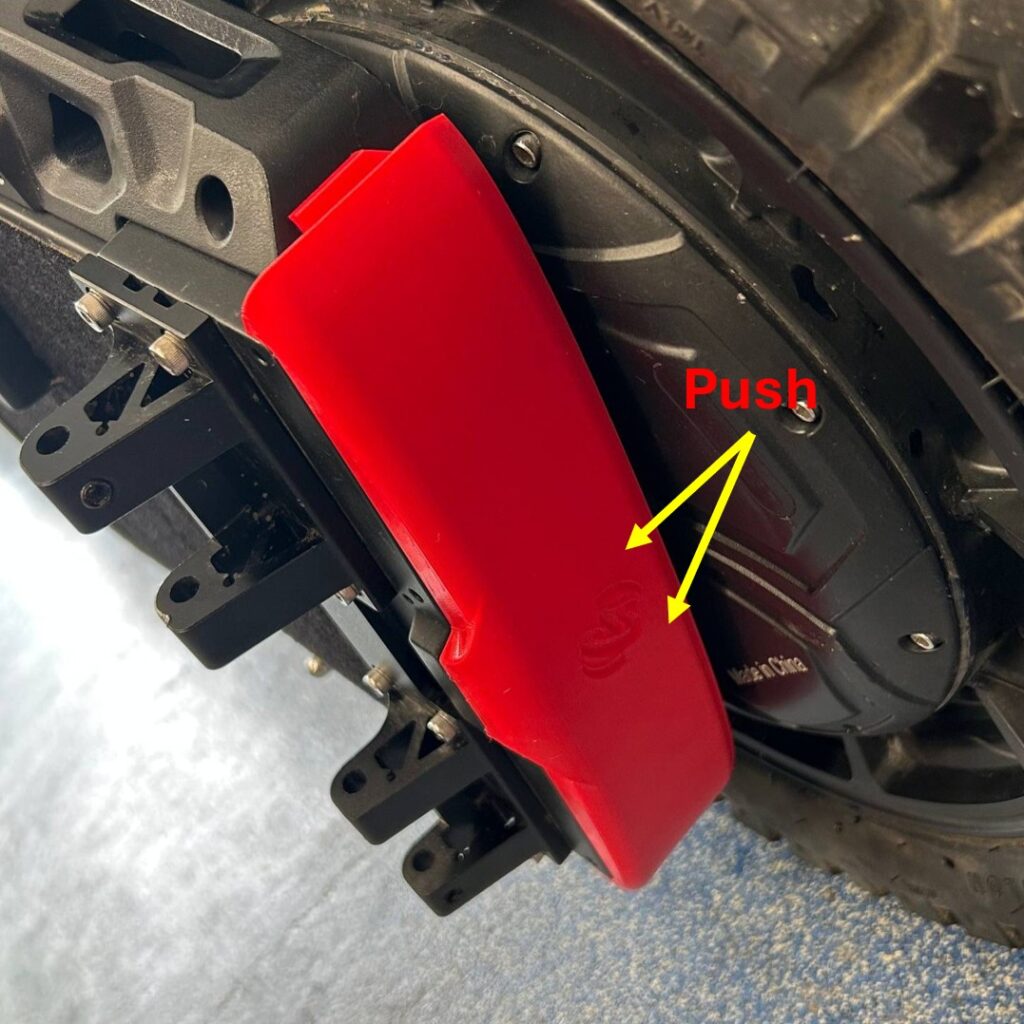
Step 3 - Start the installation with the center cover. First slide the middle tab underneath the EUC shell, then push the middle part in untill you are sure that the latches locked in place.
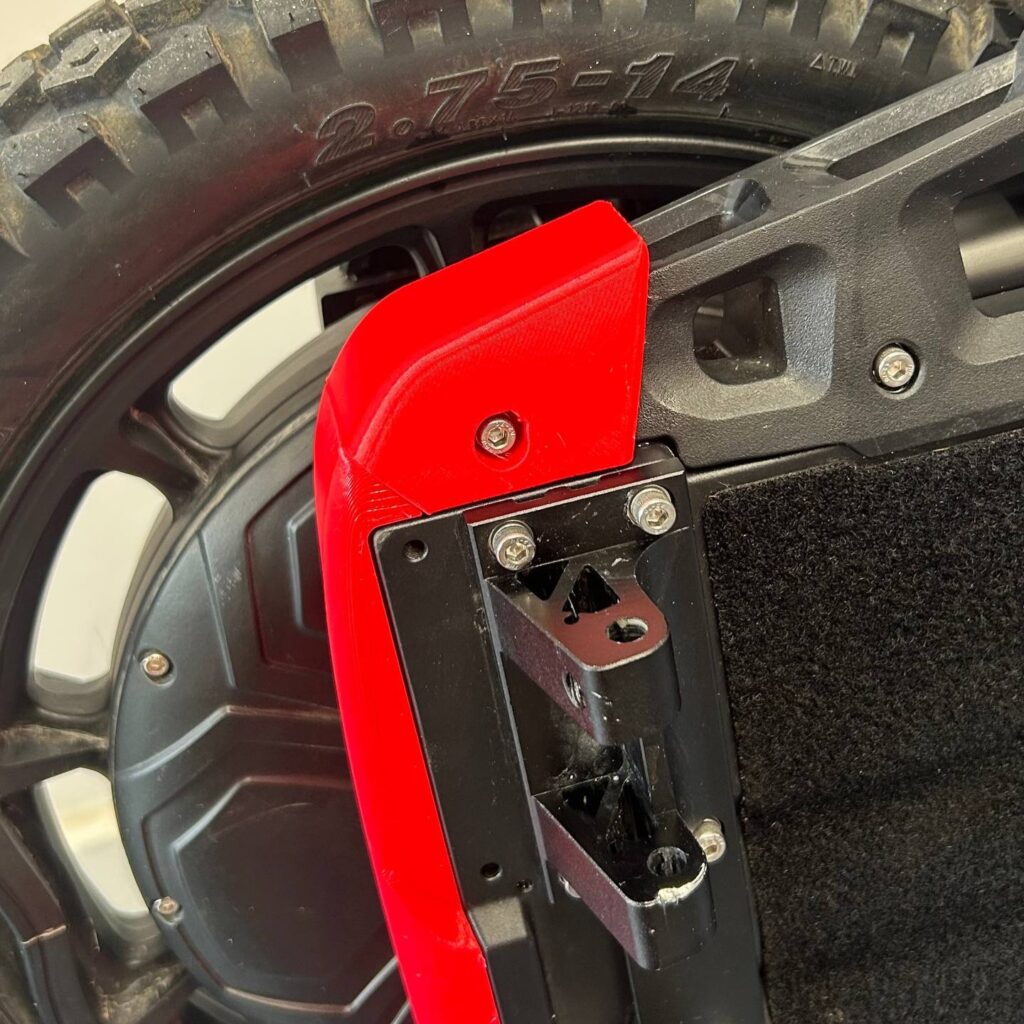
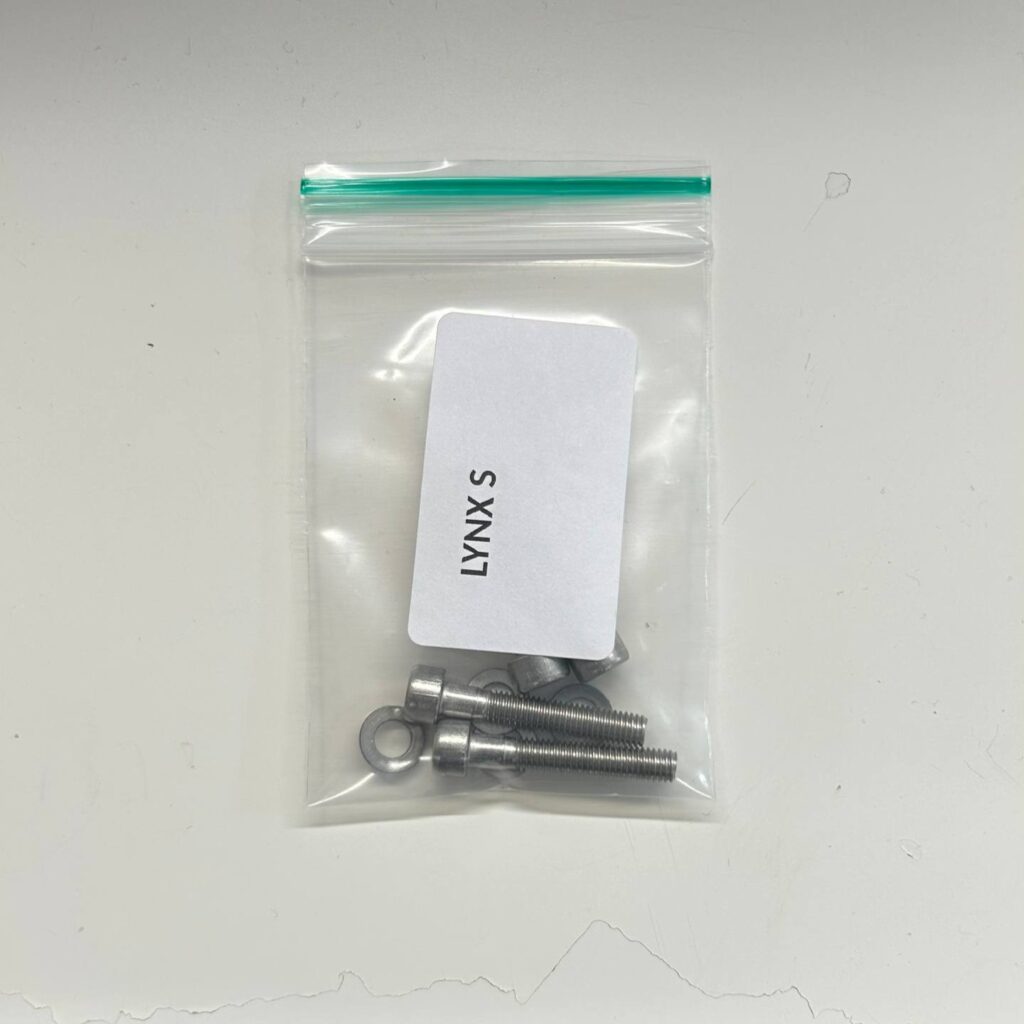
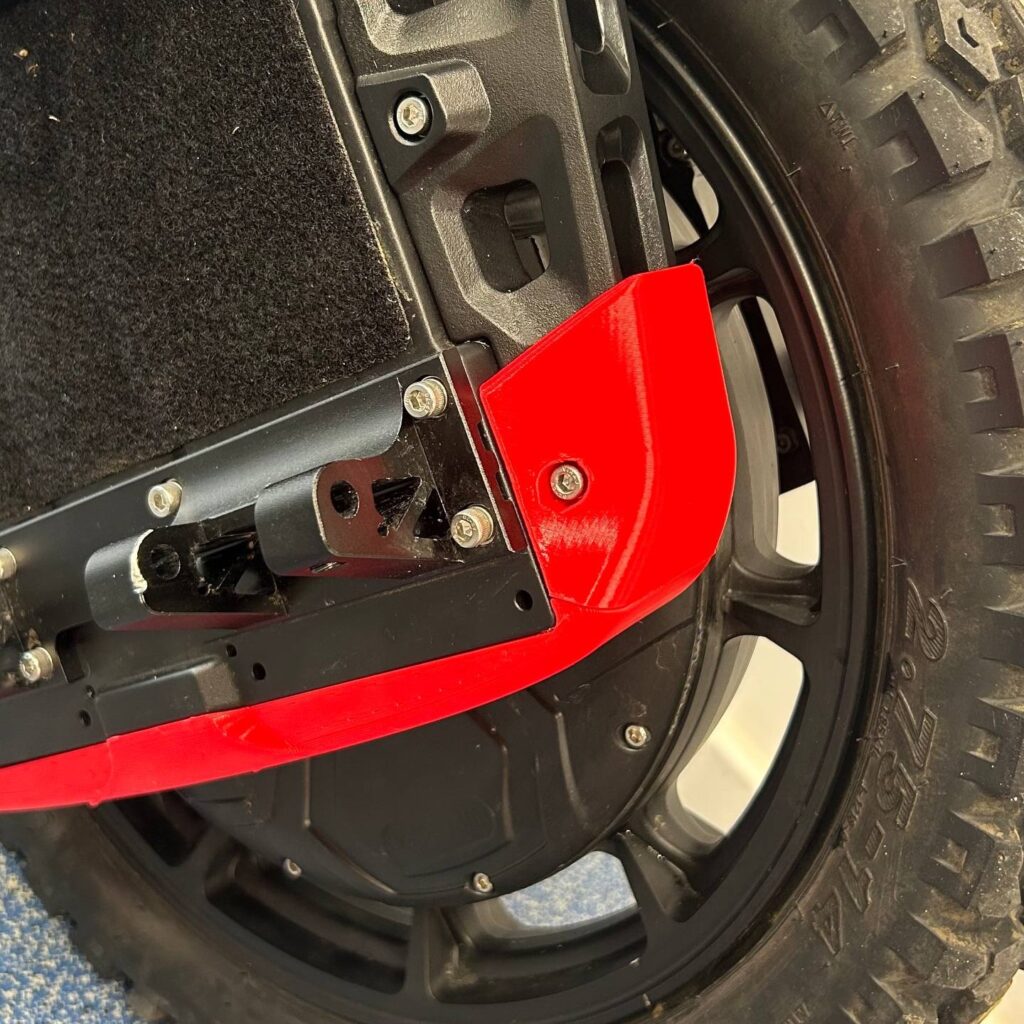
Step 4 - Install the rear part (D1 or D2) using the M5x30 screw and washer.
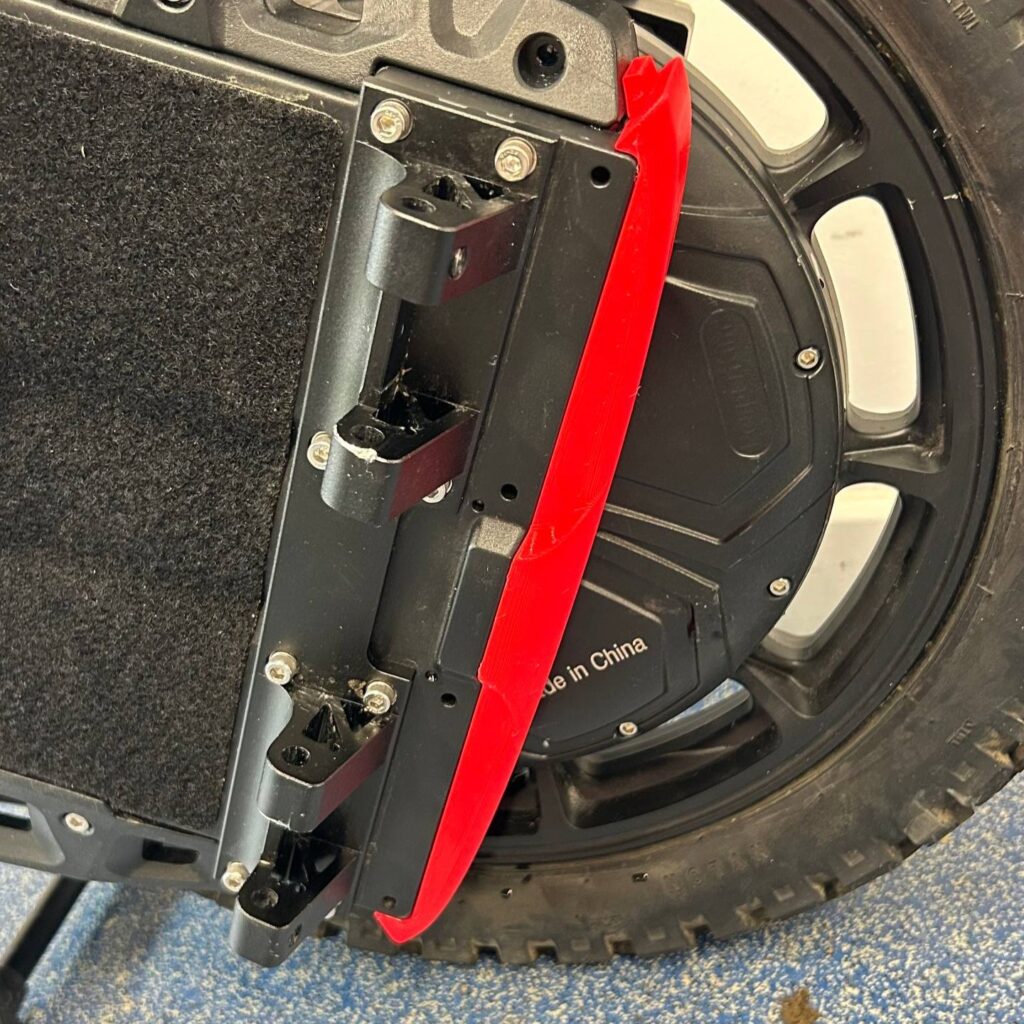
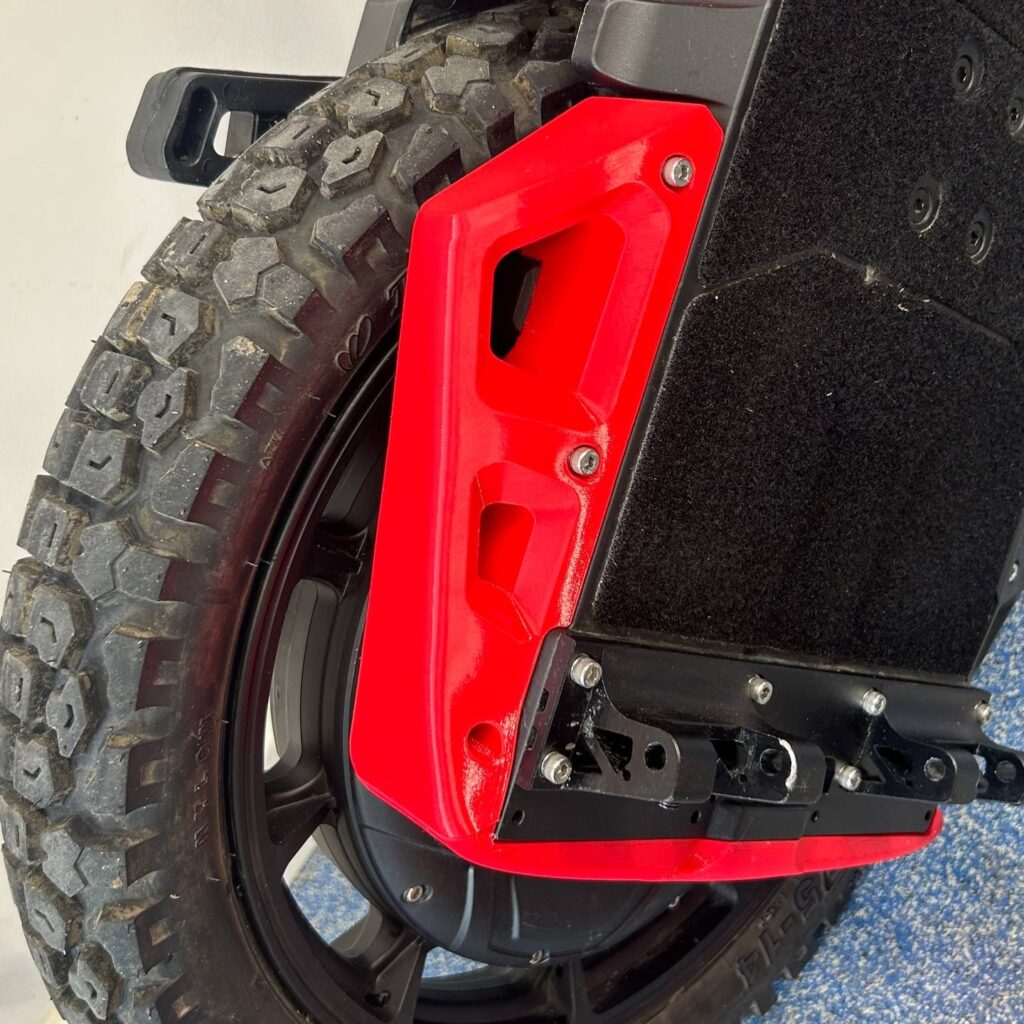
Step 5 - Install the front part. In case of B1/B2 use M5x30 screw and washer. For A1/A2 use the stock screws (3 for each side).
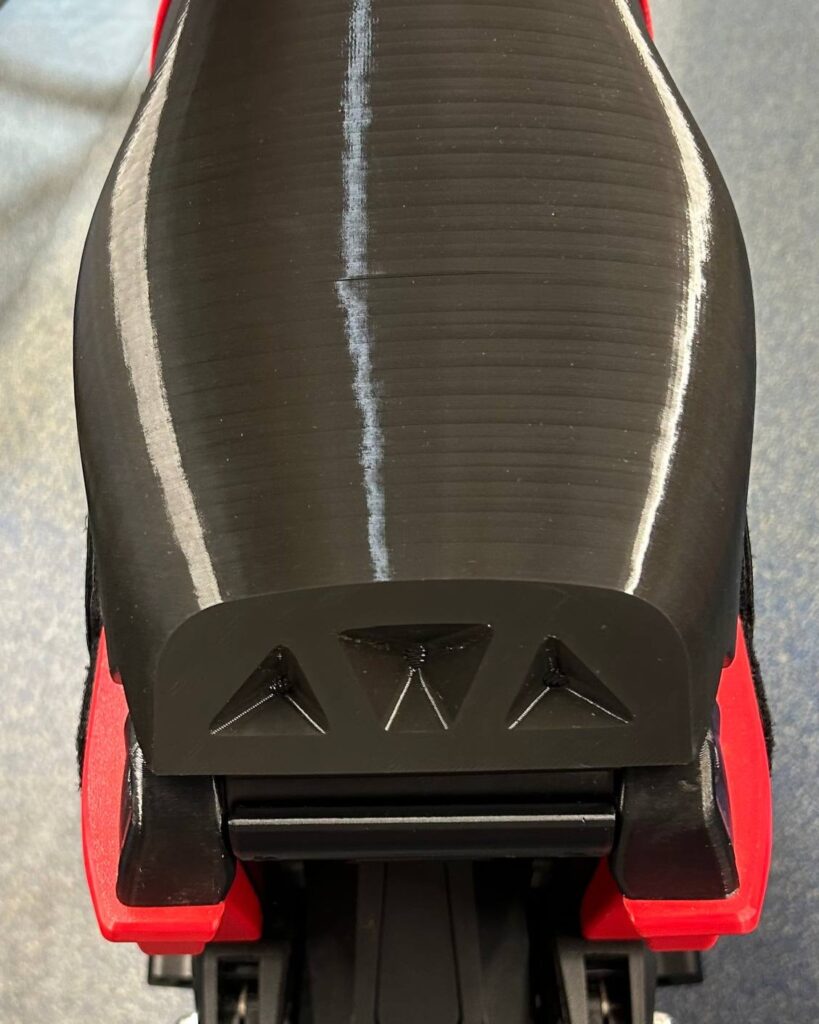
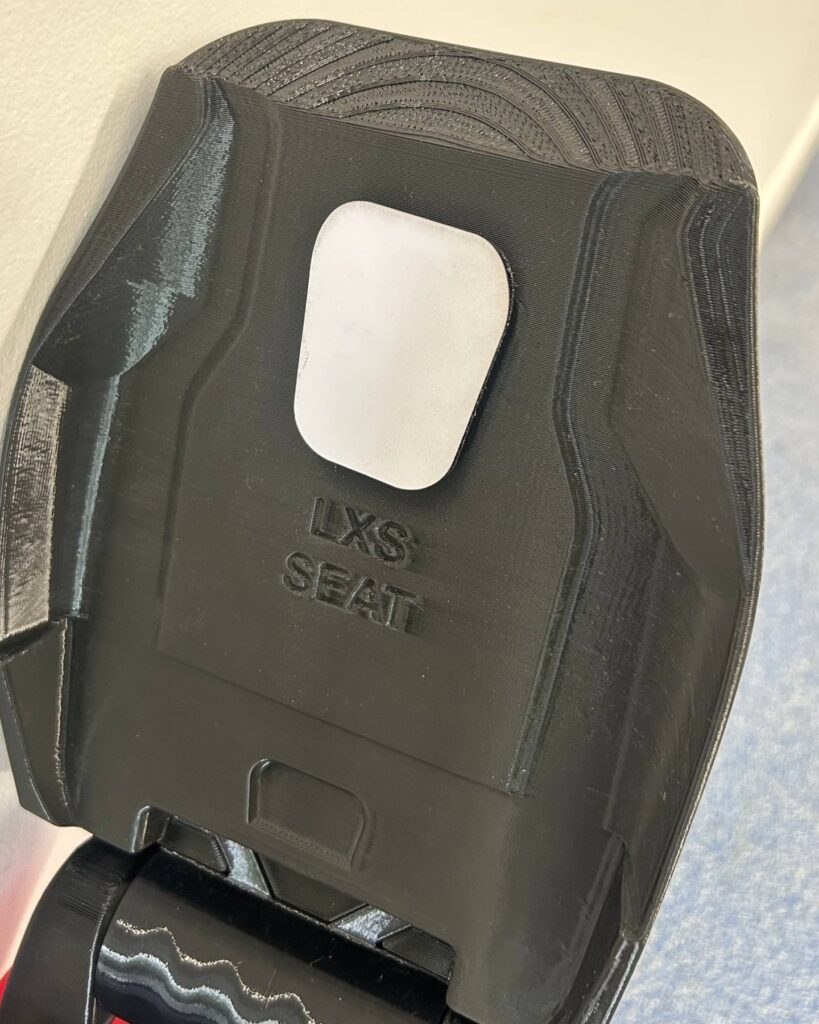
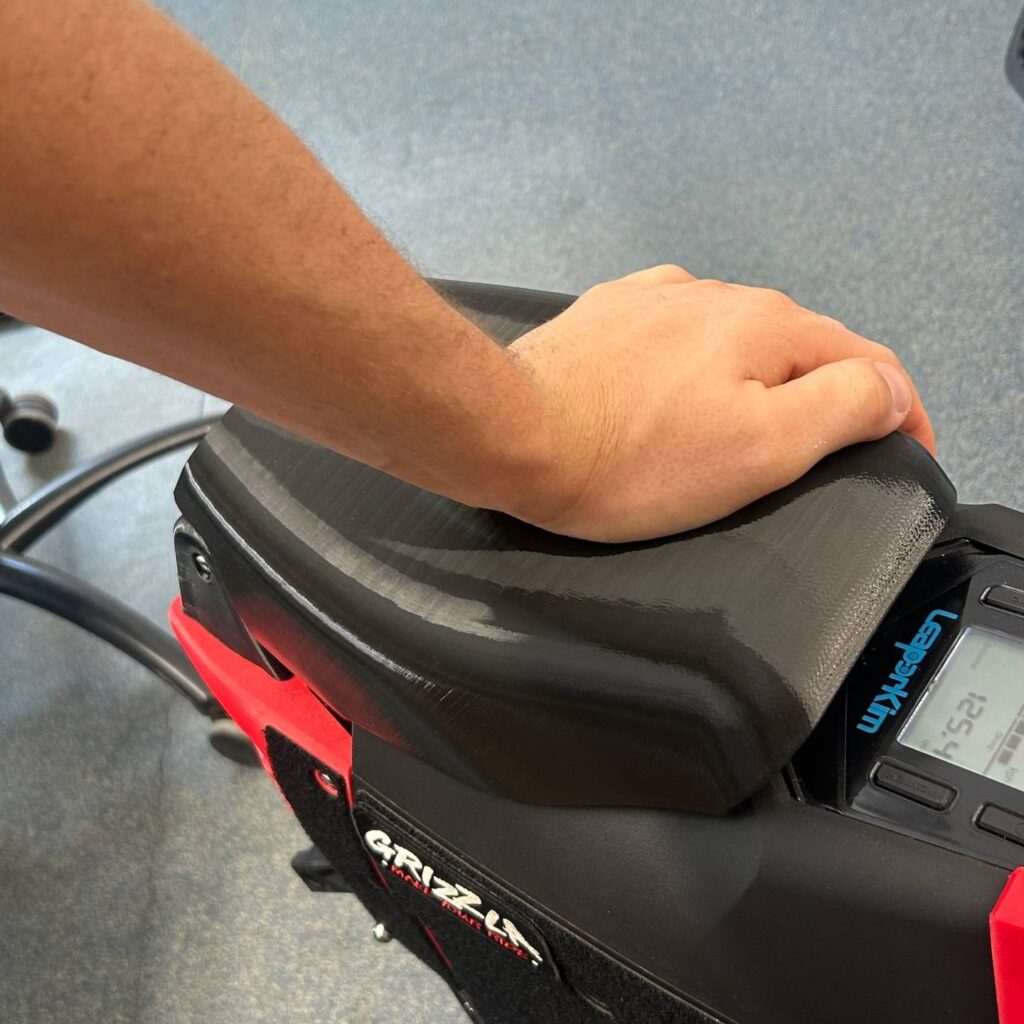
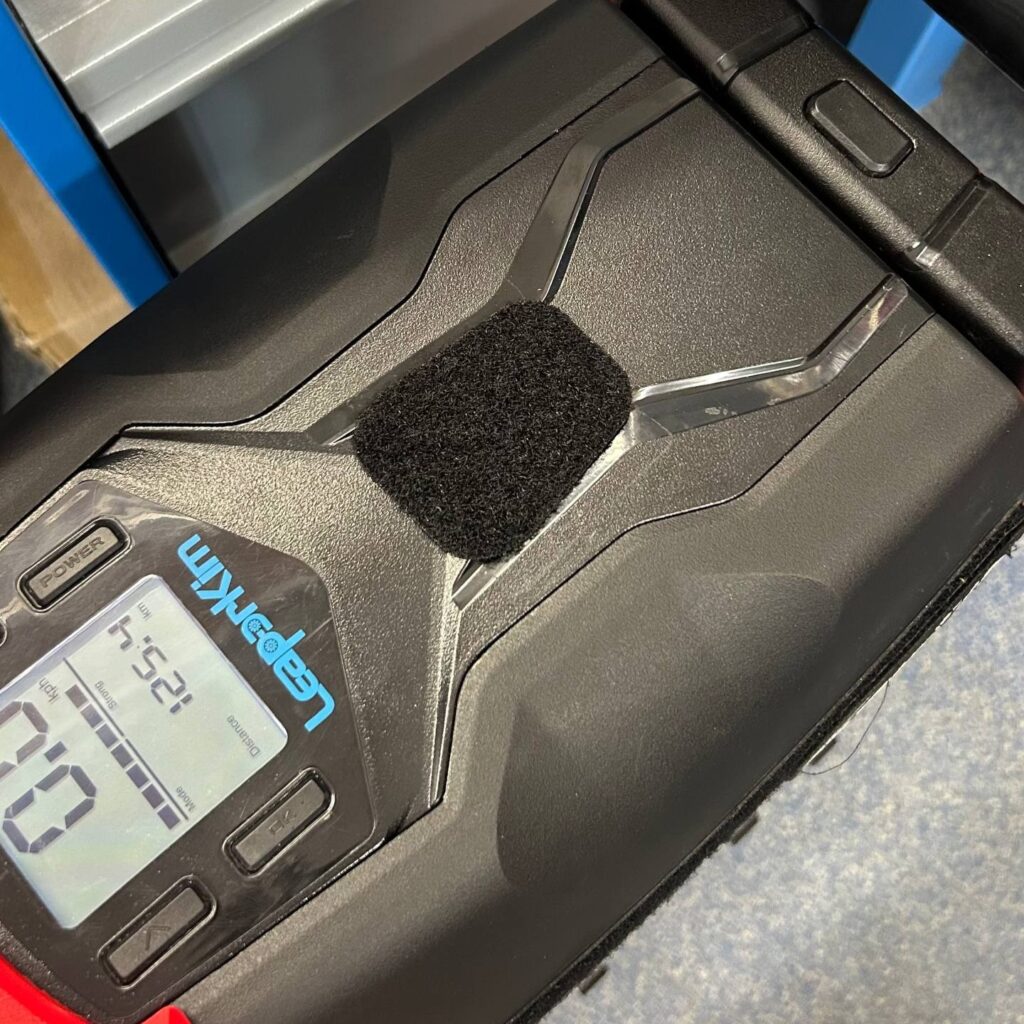
Step 1 - Install the seat on the rear handlebar and open it. Peel off the protective paper from the velcro. Close it and press it down so the velcro sticks to the EUC.